1) Select the helix of splines in the shape of create.

2) Create a helix spline in the viewport.

Method using spline rendering (incorrect example)
3) Check enable in renderer, enable in viewport in spline rendering and select rectangular type.

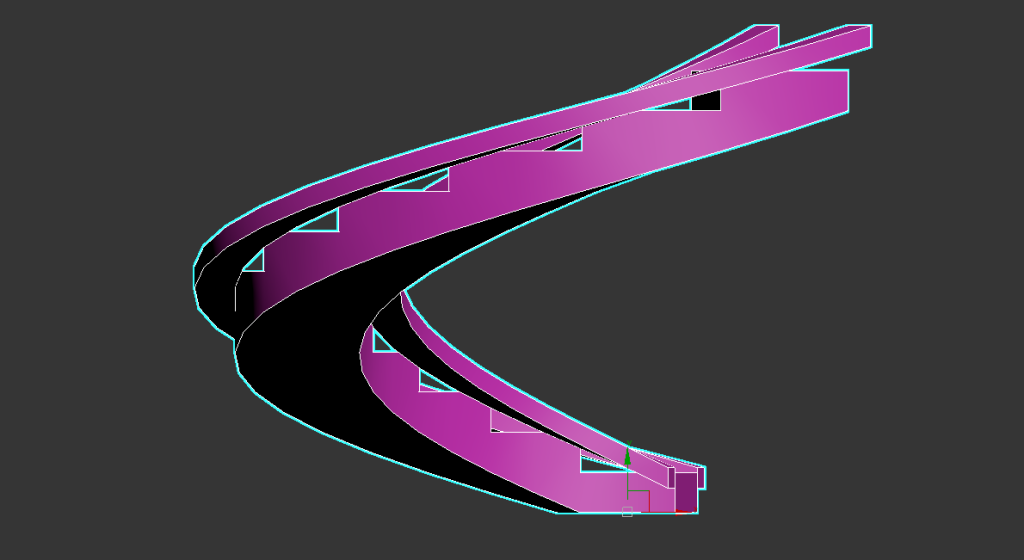
4) You can see the spiral polygon object with a rectangular cross-section.

5) You can see that the cross-section is tilted.


Example using extrude and shell
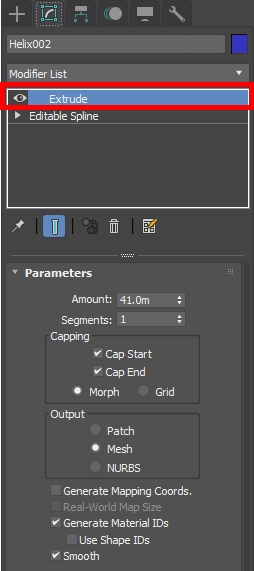
6)Convert the helix object to a spline object and add an extrude modifier.
(Uncheck both the enable in renderer and enable in viewport in helix)
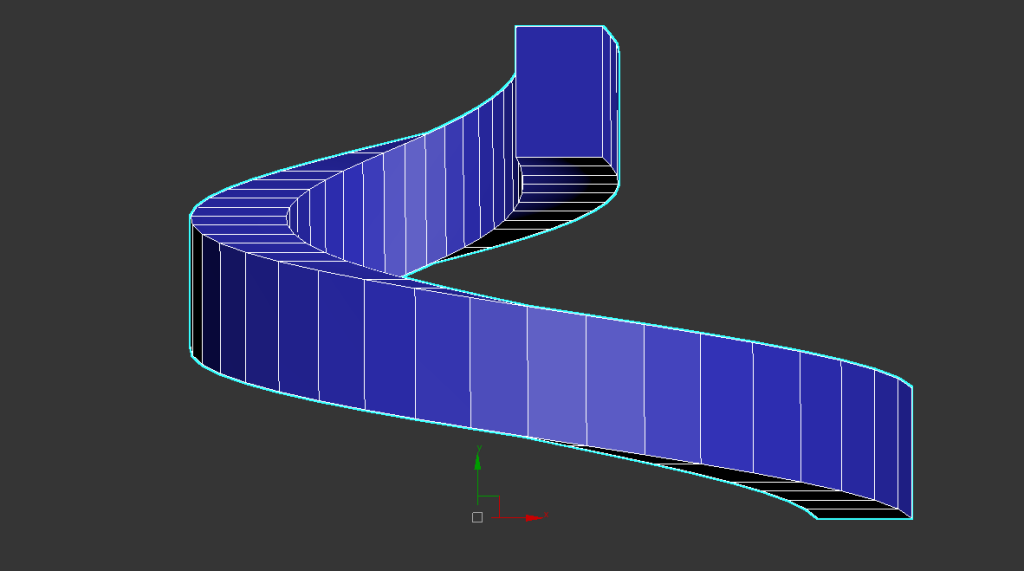
7)You can see the faces created from the spline (if the faces are in different directions, make sure you created the spline object in Top or Perspective view)

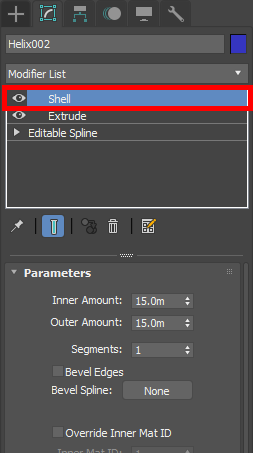
8) Add a shell modifier to create thickness.

9) You can see that the cross-section of the spiral object is not tilted and is perpendicular to the ground.

Method using spiral stair object
10) Select and create spiral stair from stairs in geometry of create.

11) Check stringers in spiral stair parameter.

12)You can model spiral objects using stringers added to the spiral stair.

![[3D Max]Solving the problem of uneven Shell thickness(Straighten Corners)](https://inspired-learn-create.com/wp-content/uploads/2025/06/2025-02-26_12-24-03-1024x697.png)
![[3D Max] Shortcut tips for use in the viewport quad menu](https://inspired-learn-create.com/wp-content/uploads/2025/06/2025-01-25_15-49-33.png)
![[3D Max] How to set Mouse Wheel Zoom Sensitivity](https://inspired-learn-create.com/wp-content/uploads/2025/06/2025-01-25_15-38-06.png)