This tutorial guides you through the steps to sign up for a web hosting product (FastComet) and set up WordPress (registering a domain, enabling SSL, configuring PHP, and installing WordPress).
Sign up for services at Fastcomet
1) Select a web hosting service provider and go to the site to purchase a plan and product. In the example, I used fastcomet, an overseas web hosting site.
https://www.fastcomet.com
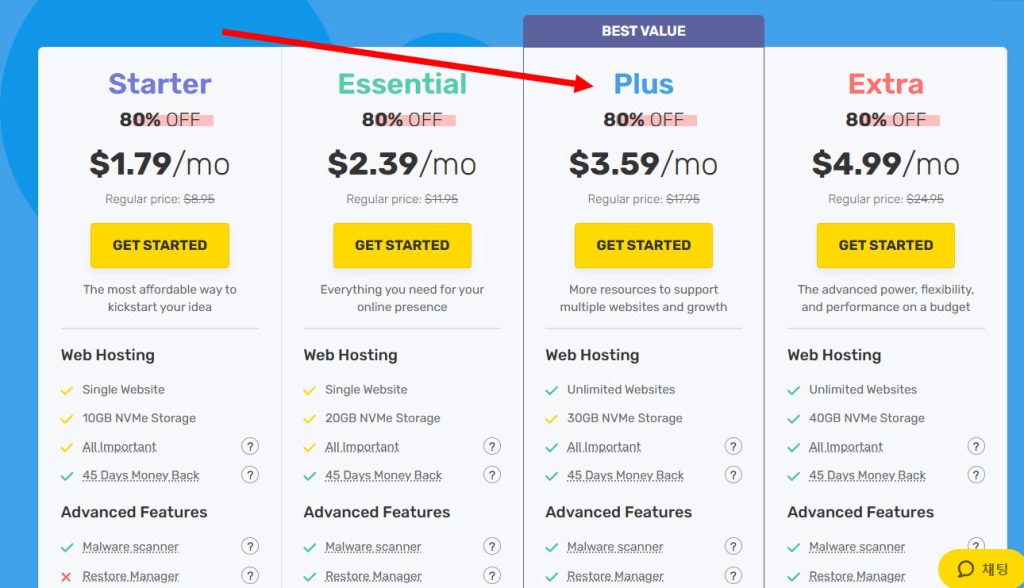
2) Compare web storage capacity, traffic capacity, etc. and select the desired plan and product. In the example, we selected fastCloud Plus Plus plan.
https://www.fastcomet.com/pricing

3) Enter the domain in Select Domain. To purchase and register a new domain from fastcomet, enter and register the site domain in Domain Registration.

4) You can check if the domain you entered is available (congratulations, available for registration with your hosting account)

5) Enter fastcomet account information (email, password, first name, last name, country, city, address, phone number)

6) Check the product information to purchase. The product you are purchasing is the Plus (fastCloud Plus) plan and the closest data center location to your current location, In my case Tokyo, is displayed. Select the product usage and subscription period in period.
Check other options in Extras. In the example, domain registration is checked for domain registration and domain privacy add-on service is unchecked.

7) Enter credit card information in payment information and proceed with payment (place order)

8) Once payment and product purchase are completed, fastcomet will send you a payment confirmation email and domain registration confirmation email by email.


9) To go to the domain management page, click click here to go to your client area or go to the page below.


10) You can check the products/services you are currently using from Fastcomet in my products on the left (fastCloud Plus)

11) You can check the registration information of the domain you are currently using in my domains.

SSL, PHP settings, WordPress installation
12) Go to Access cPanel of the product in my products (enter password and proceed)


13) Go to SSL/TLS Status in Security.

14) You can check the SSL status of the current domain. The certificate status of the domain indicates an error.

Domain SSL settings (Auto SSL) on Fastcomet web hosting site
15) Go to Select PHP Version in Software.

16) Select Extensions at the top and select the PHP version. All available versions including the latest version are displayed in the list. Select the recommended version (Current).

17) Set the PHP options in Options at the top.

18) Set the maximum execution and input time, memory limit, post maximum size, upload maximum file size, etc. (max_execution_time, max_input_time, max_input_vars, post_max_size, upload_max_filesize)

19) You can check that the option changes have been saved.

Install WordPress
20) Select install wordpress in WordPress Management on the left to install WordPress.

21) Select the installation option. Select the installation path (default setting), website title, and website language.
Enter the username, password, and email of the WordPress administrator and click install to proceed with the installation.


22) You can check that the installation is complete. If you select no thanks (or install plugins to install additional plugins), you will see a page in the WordPress Toolkit interface (WP Toolkit for cPanel) where you can configure and manage your WordPress installation.


![[WordPress] Setting Up Domain SSL (Auto SSL) on Fastcomet Web Hosting Site](https://inspired-learn-create.com/wp-content/uploads/2025/06/2025-01-26_17-34-40-1024x611.jpg)
![[WordPress]Creating a WordPress.com user account (sign up, log in, email address verification)](https://inspired-learn-create.com/wp-content/uploads/2025/06/2025-05-13_21-19-02-1024x619.png)